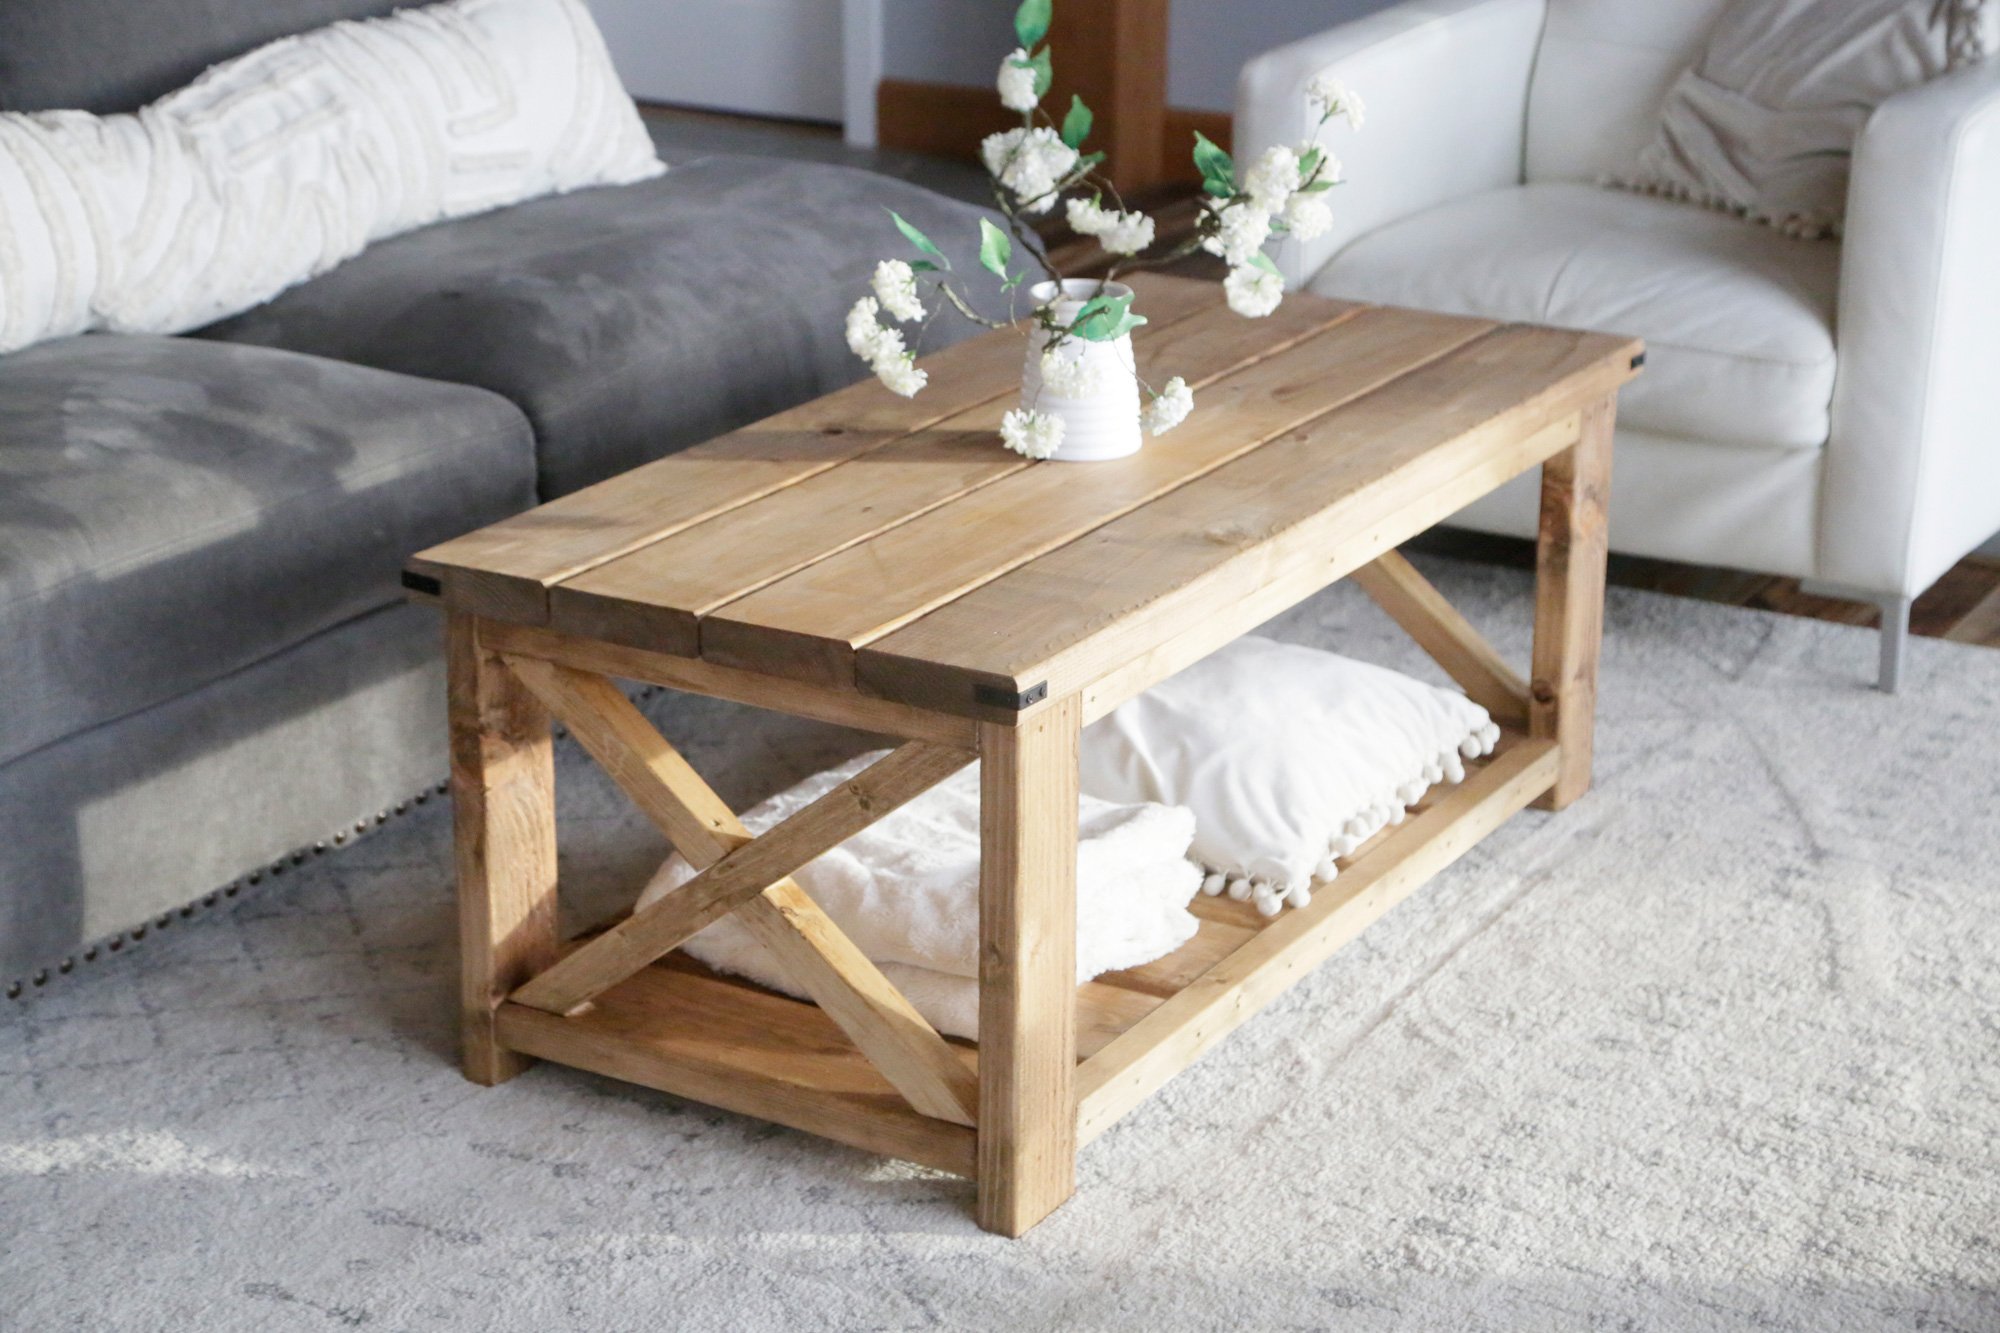

Alright, you wanna make a killer coffee table out of wood and resin? Let's get this party started.
Why This Project Rocks
First off, think about it: you're combining two awesome materials - wood, that rustic, natural vibe, and resin, that sleek, modern magic. It's like pairing peanut butter and jelly, but way cooler. You get a unique piece that's both organic and contemporary, and it's gonna be a conversation starter for sure. Plus, you can customize the heck out of it. Want a river running through the wood? Go for it. Craving a swirling galaxy of colors? Resin has your back.
Let's Get Down to Business
What You'll Need:
Wood: The star of the show. You're going to need a nice, round piece of wood. Think reclaimed wood, a thick slab of oak, or even a salvaged tree trunk. You're gonna want something with character!
Resin: Epoxy resin is the king of this project. It's strong, durable, and gives you that smooth, glassy look. You can find it in kits, so you're not messing around with different chemicals. Get a clear resin for a clean look, or color it up with pigments.
Molds: If you're going for a super cool, sculpted design, you'll need a mold. Silicone molds work well for this. You can even create your own using clay!
Tools: You'll need your usual suspects - a saw (for cutting the wood to size), sander (for smoothing things out), measuring cups and spoons (for mixing resin), gloves (for safety), and a respirator mask (to avoid inhaling fumes).
Optional Extras: Think wood stain (to enhance the wood's natural beauty), pigments (for coloring your resin), alcohol inks (for adding swirls and depth), glitter (because why not!), and even dried flowers or leaves for a touch of nature.
Step-by-Step (Because We're Not Winging It):
1. Wood Prep: Start by cutting your wood into a circle. Use a jigsaw or a circular saw. It's totally cool if it's a little imperfect - that's part of the charm. Sand it down to smooth out any rough edges, and maybe apply a wood stain to give it a nice color.
2. Mold Time: If you're using a mold, this is the time to get it set up. Make sure it's clean and free of any debris.
3. Resin Mixology: Follow the instructions on your resin kit carefully. Mixing is super important for a strong, beautiful finish. Get those measuring cups out and be precise.
4. Pouring It On: This is the fun part. Pour the resin into your wood circle or mold. If you're using pigments, alcohol inks, or other goodies, add them now. Use a heat gun to remove any air bubbles that pop up.
5. Let It Cure: This is the waiting game. Let your resin fully cure. The time varies depending on the brand, so check the instructions. Don't touch it! It needs time to harden.
6. Polishing It Up (Optional): Once the resin is hard, you can polish it up with a good sanding block and some polishing compound. This will give it a super shiny finish.
Pro Tips for Epic Results:
Less Is More: Don't go overboard with the resin. It's better to do multiple thin pours than one thick one. This prevents air bubbles and makes it less likely to crack.
Embrace the Imperfections: You don't need a perfectly smooth surface. Cracks, knots, and imperfections add character.
Get Creative: Experiment with different resin colors, textures, and designs. You can create amazing things with resin!
Let Your Inner Artist Shine: Don't be afraid to try new things. There are no rules when it comes to resin art.
So there you have it! Now you're ready to craft a coffee table that's as unique as you are. Get those creative juices flowing and have fun! And remember, if you mess up, just start over! That's part of the adventure.