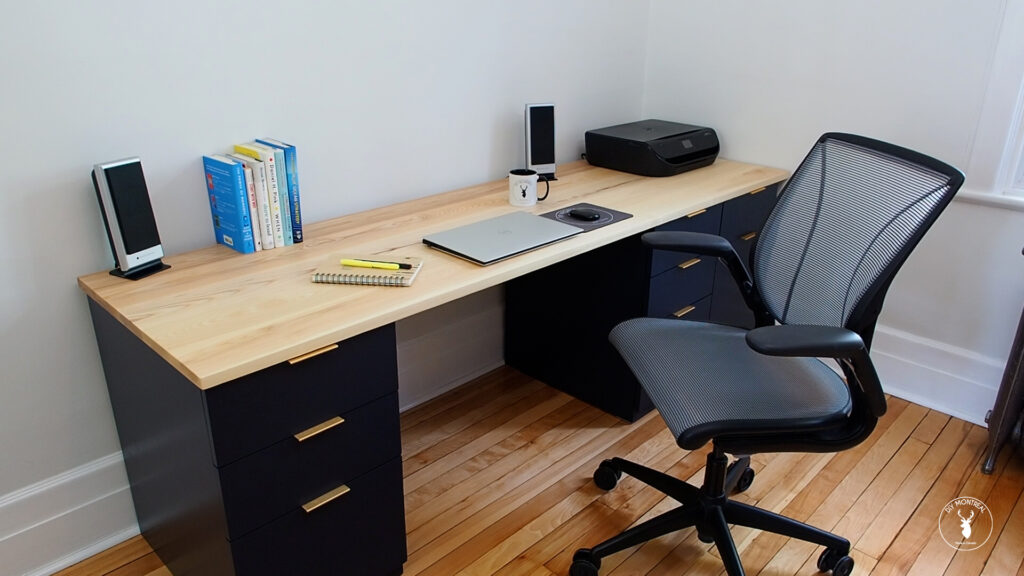
For many, a desk is more than just a workspace; it's a sanctuary, a creative hub, and a reflection of personal style. Yet, the standard, mass-produced desks often fall short of meeting individual needs and aesthetics. This is where the joy of custom woodworking comes in, offering the opportunity to craft a desk perfectly tailored to your space and desires.
This article will guide you through the process of creating a custom-fit desk, even with basic woodworking skills. While some steps might seem intimidating at first, with careful planning and a commitment to learning, you'll be able to construct a desk that not only serves its purpose but also becomes a source of pride and satisfaction.
I. Planning & Design:
1. Defining Your Needs:
Before embarking on the construction journey, carefully consider your desk's intended use.
What will you be using it for? Will it be primarily for working on a laptop, for drawing and crafting, or for writing?
What size do you need? Measure your available space and consider the size of your computer, monitor, and other essentials.
What features are important? Do you need drawers, shelves, a keyboard tray, or a monitor stand?
2. Sketching Your Vision:
Once you've determined your needs, translate them into a sketch. Use graph paper to create a scaled drawing of your desk, including dimensions, desired features, and any special considerations. This will help you visualize the final product and make adjustments before cutting wood.
3. Selecting the Right Materials:
Choosing the appropriate wood is crucial.
Consider your budget: Prices vary greatly depending on wood type and quality.
Think about durability: Hardwoods like maple, oak, or walnut offer superior strength and resistance to scratches. Softer woods like pine or plywood are more budget-friendly but might require extra care.
Aesthetic preferences: Each wood has a unique grain pattern and color, influencing the overall look of your desk.
4. Choosing the Construction Method:
The method you choose will depend on your comfort level and available tools.
Simple construction: Using pre-cut panels and joining them with wood glue and screws can be an efficient and beginner-friendly approach.
More complex construction: Using joinery techniques like mortise and tenon, dovetail joints, or dadoes allows for sturdier and more intricate builds, though they require additional expertise and tools.
II. Construction & Assembly:
1. Cutting & Shaping:
Use a saw, preferably a circular saw or a table saw for precise cuts, to cut the wood according to your plans. Measure carefully, ensuring accuracy, and double-check before making each cut.
Basic shapes: For simpler designs, you can use a jigsaw to create basic curves.
More complex shapes: For intricate designs, you may need to invest in tools like a router or a bandsaw.
2. Joining the Pieces:
Glue: Wood glue is a common and reliable method for bonding wood. Apply a thin, even layer to the surfaces to be joined, clamping them together firmly until the glue dries.
Screws: Use screws to secure the joints and provide additional strength. Predrill holes to prevent the wood from splitting.
Dowels: Dowels, small wooden rods, can be used to reinforce joints and add a decorative element.
Joinery techniques: If using more complex joinery techniques, refer to specific guides and tutorials for proper execution.
3. Finishing Touches:
Sanding: Smooth the surface of the desk with progressively finer grit sandpaper, removing any rough edges and imperfections.
Finishing: Choose a finish that protects and enhances the wood's natural beauty.
Oil finishes: Penetrate the wood, enhancing its natural color and providing a durable finish.
Varnish finishes: Create a hard, protective layer that can be glossed, semi-glossed, or matte.
Paint: Allow you to personalize the desk with a wide range of colors and effects.
III. Essential Tools & Equipment:
Saw: Circular saw or table saw for accurate cutting.
Measuring tape: Essential for precise measurements.
Pencil: To mark your cutting lines.
Clamps: To secure pieces while gluing or joining them.
Screwdriver: For securing joints.
Sandpaper: For smoothing the surface.
Wood glue: To bond wood pieces together.
Finish: Choose a finish that suits your preferences and desired look.
IV. Safety Precautions:
Wear safety glasses: To protect your eyes from sawdust and flying debris.
Use hearing protection: When using power tools, wear earplugs or earmuffs to protect your hearing.
Always use caution when operating power tools: Follow the manufacturer's instructions carefully.
Keep your workspace clean and organized: To avoid tripping hazards and accidents.
Take breaks when needed: Avoid fatigue, which can lead to mistakes and accidents.
V. Additional Tips & Considerations:
Plan your project well: Consider your time, budget, and skill level before starting.
Don't be afraid to ask for help: If you're unsure about a particular step, consult with a more experienced woodworker.
Practice your skills: Start with simpler projects before tackling more complex ones.
Take your time and enjoy the process: Creating a custom desk is a rewarding experience.
VI. Conclusion:
Building a custom-fit desk offers a unique opportunity to create a workspace that truly reflects your personality and needs. By following these steps, you can bring your vision to life, transforming your home office into a comfortable, functional, and personalized haven. Embrace the challenge, enjoy the process, and reap the satisfaction of crafting a piece that will serve you for years to come. Remember, the journey is as rewarding as the destination.