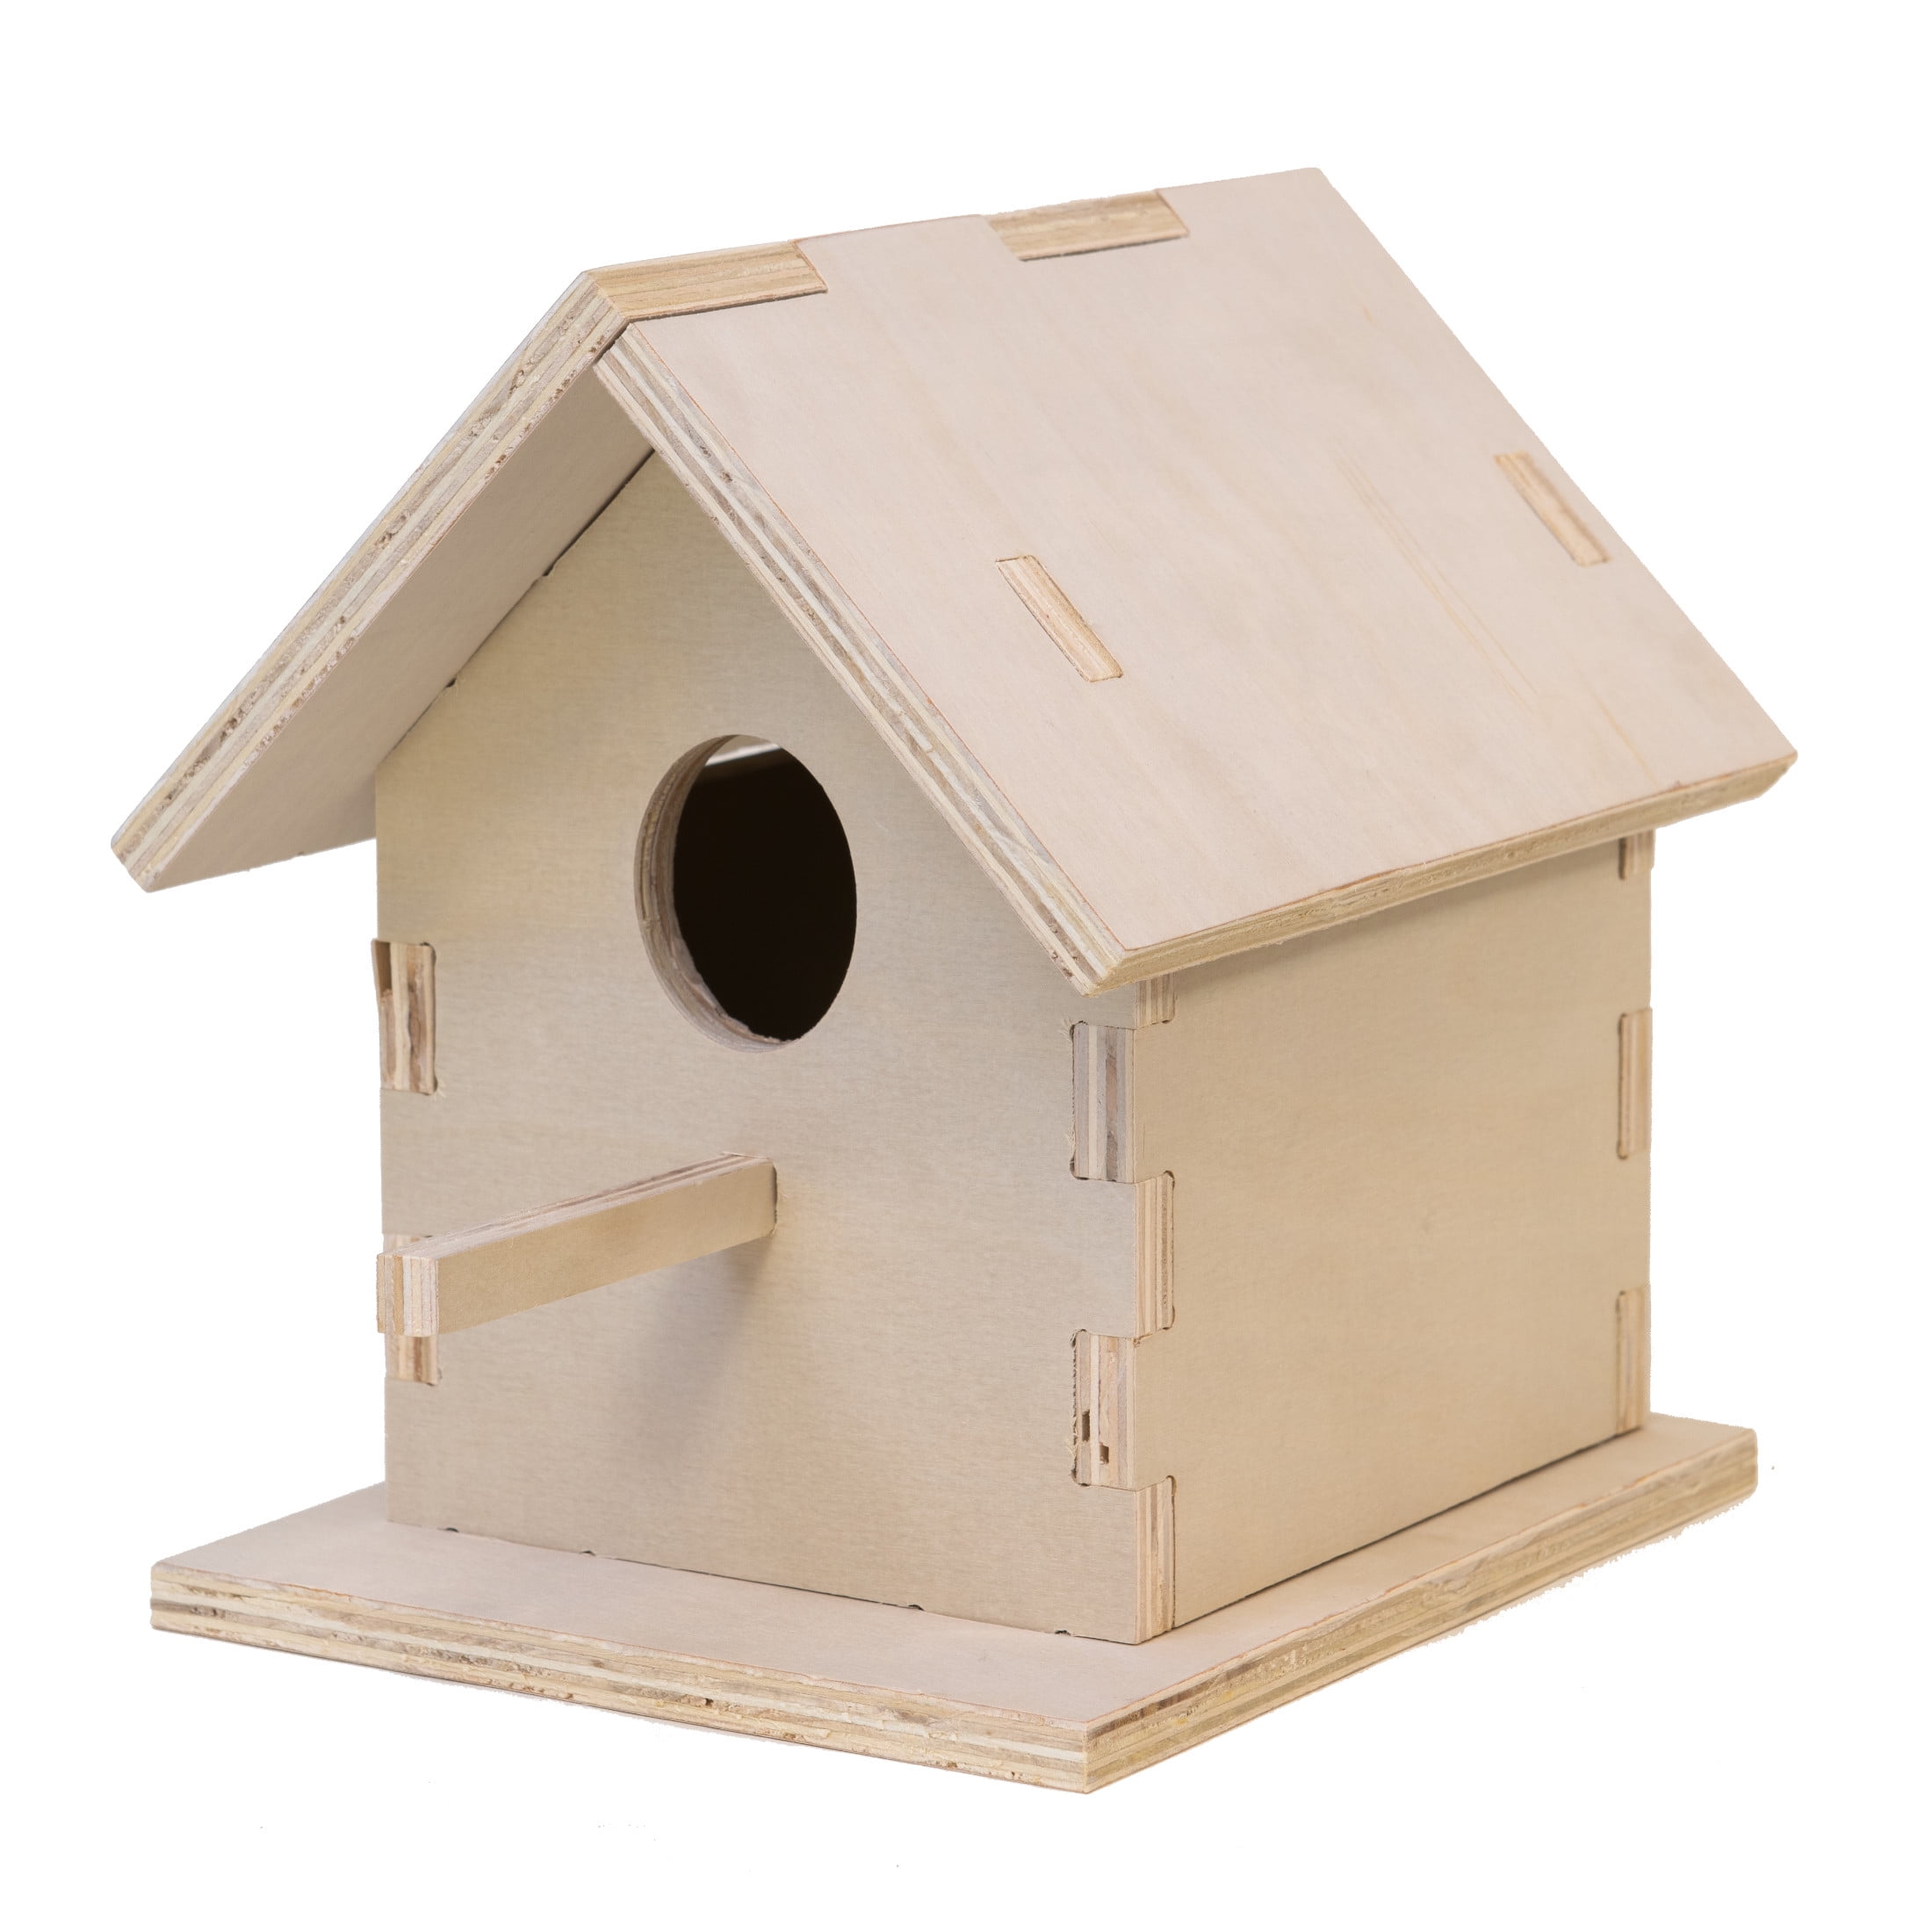
Constructing a Birdhouse for Tiny Birds: A Comprehensive Guide
Creating a welcoming habitat for diminutive avian species requires meticulous planning and construction. This guide will delve into the essential aspects of building a birdhouse specifically designed for tiny birds, ensuring a safe and comfortable dwelling for these delicate creatures.
Choosing the Right Materials
The choice of materials plays a crucial role in the longevity and safety of your birdhouse. Opting for natural and weather-resistant options is essential:
Wood: The Foundation of a Birdhouse
Wood is the traditional and preferred material for birdhouses. Its natural properties provide insulation and resist weathering. Consider the following options:
- Cedar: Known for its natural resistance to rot and insects, cedar is an excellent choice for long-lasting birdhouses.
- Redwood: Similar to cedar in durability, redwood possesses a distinct reddish hue, adding visual appeal.
- Pine: A readily available and affordable option, pine requires proper treatment to prevent decay and insect infestations.
Avoid using pressure-treated lumber, as the chemicals can be harmful to birds.
Other Materials: Enhancements for Durability
Beyond wood, incorporating other materials can enhance the birdhouse's functionality:
- Metal Roofing: Protect the roof from the elements with a durable metal sheet, ensuring watertightness and longevity.
- Ventilation: Incorporate small ventilation holes on the sides or back of the birdhouse to allow for proper air circulation.
- Perch: Provide a sturdy landing perch just below the entrance hole, enabling birds to easily access the nesting cavity.
Designing for Tiny Birds
The dimensions of the birdhouse are crucial for attracting the desired species. Tiny birds require smaller and more compact nesting spaces:
Entrance Hole Size: A Critical Factor
The entrance hole diameter is the most significant factor in attracting specific bird species. For tiny birds, such as chickadees, wrens, or nuthatches, aim for a hole diameter of 1.25 inches (3.175 cm). This size will discourage larger birds from competing for the nesting space.
Depth and Interior Space: Providing Comfort
The depth of the birdhouse should be approximately 6 inches (15.24 cm), offering ample space for nesting material and raising chicks. The internal dimensions should allow for a snug fit for the birds, promoting a sense of security.
Roof Slope: Protection from the Elements
Ensure that the roof has a steep slope to prevent water from accumulating and creating a damp environment within the birdhouse. A slope of at least 45 degrees is recommended.
Construction Steps: A Detailed Guide
Follow these step-by-step instructions to construct a birdhouse for tiny birds:
Step 1: Cut the Wood
Using a saw, cut the wood according to the following dimensions:
- Front panel: 6 inches wide by 8 inches tall
- Back panel: 6 inches wide by 8 inches tall
- Side panels: 6 inches wide by 6 inches tall (2 pieces)
- Bottom panel: 6 inches wide by 6 inches tall
- Roof panels: 8 inches wide by 8 inches tall (2 pieces)
Step 2: Drill the Entrance Hole
Using a drill bit with a 1.25-inch diameter, drill the entrance hole in the front panel. Position it approximately 2 inches from the top edge and centered horizontally.
Step 3: Assemble the Base
Attach the side panels to the bottom panel using wood glue and screws. Then, attach the front and back panels to the assembled base, ensuring a snug fit.
Step 4: Create the Roof
Using wood glue and screws, join the two roof panels together to form a triangular shape. The angled edge should be facing outwards.
Step 5: Attach the Roof
Position the roof over the assembled base, ensuring that the angled edge of the roof overhangs the walls of the birdhouse. Attach the roof to the base using screws, making sure to secure it firmly.
Step 6: Add Ventilation
Drill small ventilation holes on the sides or back of the birdhouse to allow for air circulation. Use a drill bit with a diameter of 1/4 inch (0.635 cm).
Step 7: Install the Perch
Cut a small piece of wood for the perch and attach it just below the entrance hole, ensuring it is sturdy and accessible to the birds.
Step 8: Finish and Placement
Sand the entire birdhouse to smooth any rough edges. Apply a weather-resistant sealant or paint to protect the wood from moisture and decay. Choose a neutral color that blends with the surrounding environment.
Position the birdhouse in a sheltered location, preferably in a tree or on a post. Keep the entrance hole facing away from prevailing winds and direct sunlight.
Maintaining a Birdhouse
After construction, regular maintenance is vital to ensure a safe and inviting environment for the birds:
- Clean the Birdhouse: Clean the birdhouse thoroughly at the end of each nesting season, removing any debris or old nesting material.
- Inspect for Damage: Regularly inspect the birdhouse for any signs of damage, such as cracks or holes, and repair them promptly.
- Monitor Activity: Observe the birdhouse for signs of successful nesting, such as birds entering and exiting regularly. If you notice any problems, address them as soon as possible.
By following these guidelines, you can create a welcoming and safe haven for tiny birds, contributing to the diversity and vibrancy of your local ecosystem.